Add and invite members
Use this guide to bring someone into your community in a controlled way.
Before sending the first invitation
Check that:
- Your media server is connected and tested.
- You know what access each member type receives.
- Email or your chosen invitation method works with a test account.
- The customer portal's name, text, and help links have been reviewed.
Recommended flow
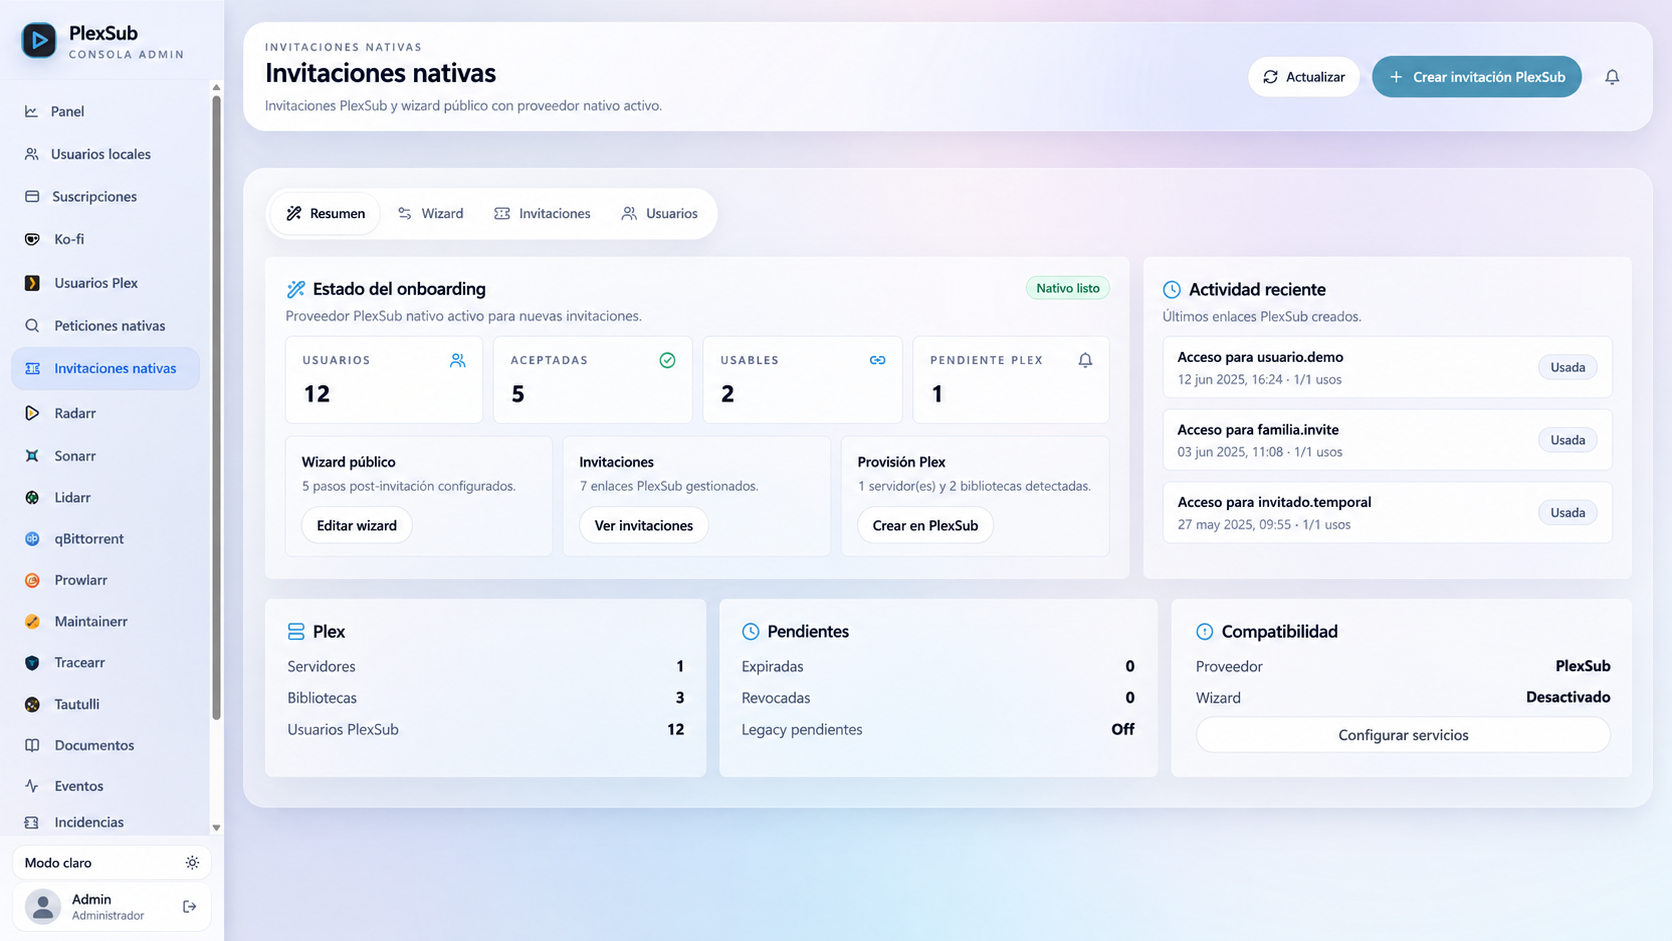
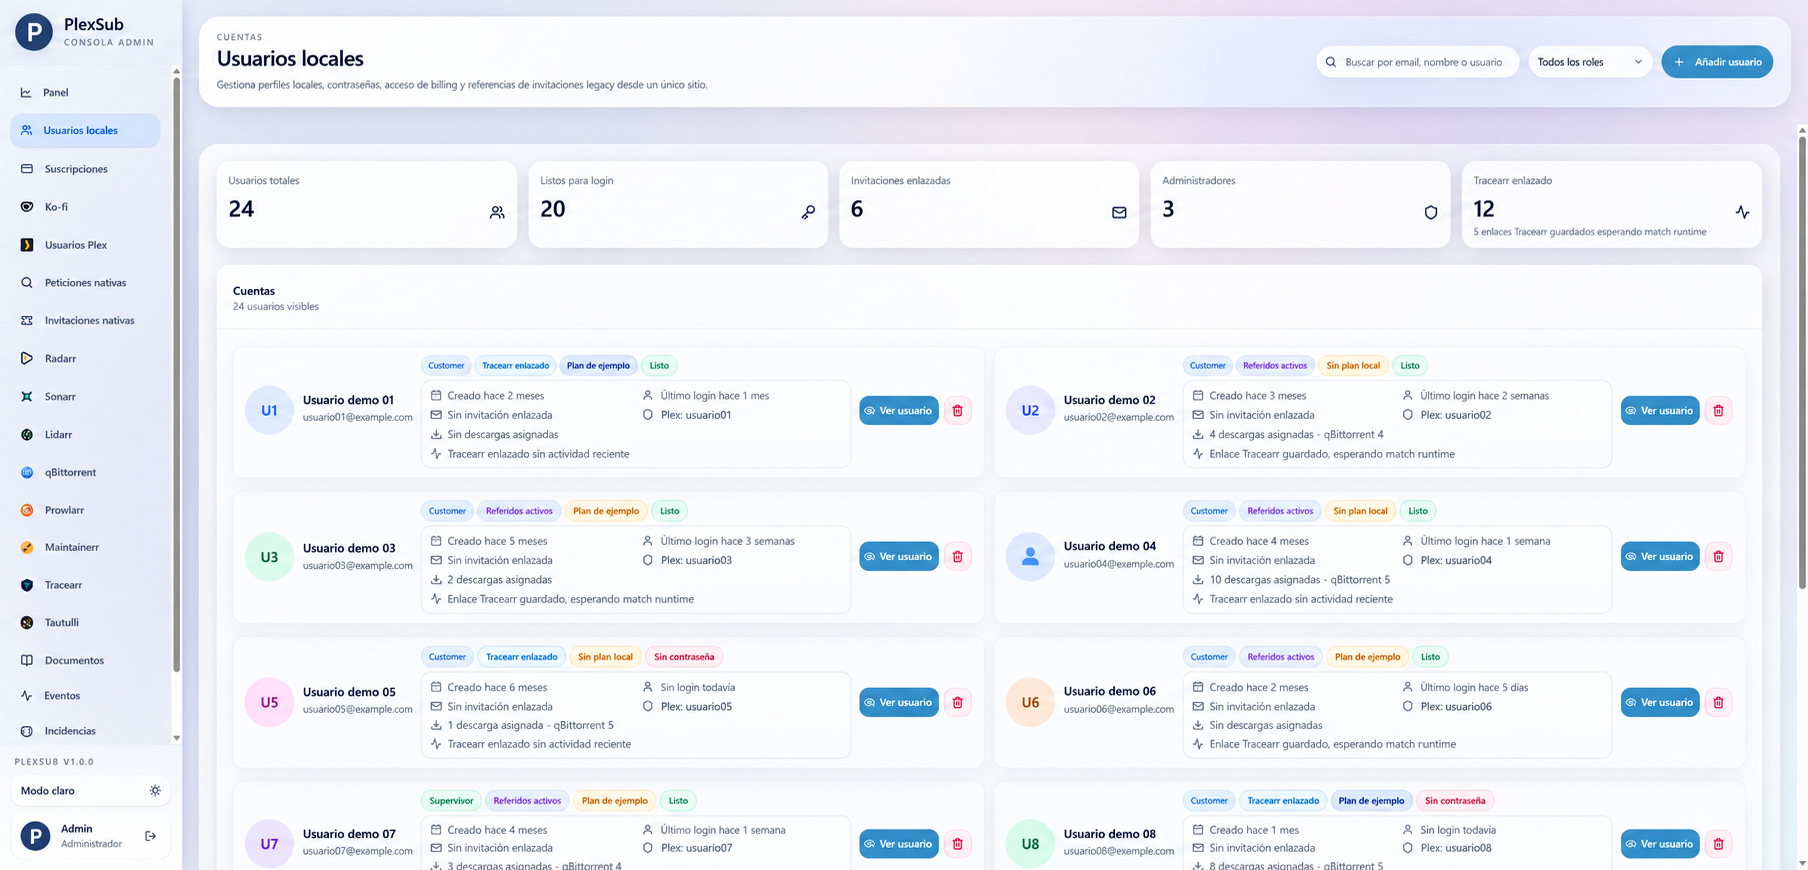
- In the admin panel, open Users or Invitations.
- Create the invitation with the right email address and access.
- Check its expiry before sending it.
- Ask the person to complete the flow from the received link.
- Confirm they can enter the portal and see only the intended sections.
- If you use Plex, Jellyfin, or Emby, confirm access in the media server itself.
Native invitations or Wizarr
Choose one primary flow so members are not confused:
- Native invitations: manage the process in PlexSub.
- Wizarr: keep Wizarr as the onboarding tool and use PlexSub for the rest of the community.
Do not switch flows halfway through an invitation. Finish, cancel, or let the existing invitation expire before making a new one.
Check a member's access
After every signup, review:
- Invitation status.
- Membership or access status.
- Customer portal access.
- Actual access to the media server.
- Requests, downloads, and other sections you enabled.
Remove access
When someone leaves the community, first review their status and the reason. Remove media-server access when appropriate and confirm the portal no longer displays information they should not see. Do not delete data blindly: retain only what is necessary for your administration and privacy obligations.